
Creating Educational Flashcards by Adding Captions Using Movavi Photo Editor
Flashcards are an excellent educational tool as they allow information to be presented concisely by using both text as well as visual aids. At first it may seem as though creating educational flashcards would be difficult, but all you really need are the right images as well as a way to overlay captions on them.
Ideally the images that you use should help to illustrate the information in some way. After that all you really need to do is overlay that information in the form of a concise caption, and you can then print it out – or even save it as a digital flashcard in the form of an image. Before that though, you first need to know how to add captions to your images, and that is where Movavi Photo Editor can help.
To start creating educational flashcards by adding captions to an image, first launch Movavi Photo Editor and load the image by clicking on the ‘Browse for Images’ button. Once the image is loaded, open up the ‘Text’ tab to access the tools that you need.
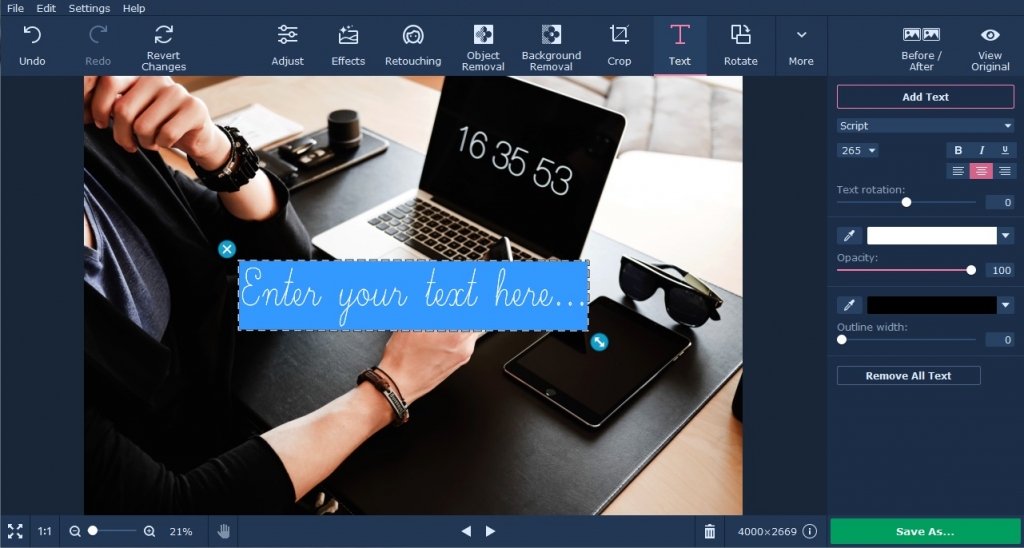
In the panel that opens up on the right you can click on the ‘Add Text’ button to add a text frame to your image. It will appear as a frame of broken white lines in Movavi Photo Editor, and you can type the flashcard information within it then reposition it or add more text frames as you wish.
Within Movavi Photo Editor’s ‘Text’ panel you’ll also find everything you need to edit the caption’s appearance. In particular you’ll be able to use the ‘Text’ subtab to alter the font’s style, color, size, justification, and other parameters. Similarly the ‘Background’ subtab will let you adjust the background color, frame width, transparency, and so on.
For more information on how to tweak the text that you add using Movavi Photo Editor, head over to https://www.movavi.com/support/how-to/how-to-add-caption-to-photo.html.
When you’re satisfied with the educational flashcard you’ve created using Movavi Photo Editor you can click ‘Save’ and select an image format to store it. If you want you can then proceed to print it out, or keep it as a digital flashcard that you can transfer to one of your mobile devices.
Keep in mind that Movavi Photo Editor has lots of other features that may help you to create more impressive flashcards as well. Its features will enable you to enhance the quality of images, apply filters, touch up portraits, remove unwanted objects, replace the background, and much more.
As you can see creating educational flashcards can be fairly easy, and the tools that Movavi Photo Editor provides will give you a lot of options that you can take advantage of. Once you create your flashcards, you’ll have an invaluable tool that you can use to study, or teach.